Let’s face it — there’s nothing quite like that first sip of a rich, aromatic cup of coffee in the morning. And while coffee shops can deliver that barista-level brew, there’s something incredibly satisfying about making the perfect cup right in your own kitchen.
Whether you’re just starting your coffee journey or tired of mediocre brews at home, this guide walks you through everything you need to know — step-by-step. From choosing the right beans to brewing methods and barista-level tips, here’s how to level up your coffee game from “meh” to magnificent. 25 Most Popular Coffee Drinks in the World (With Pictures & Recipes)
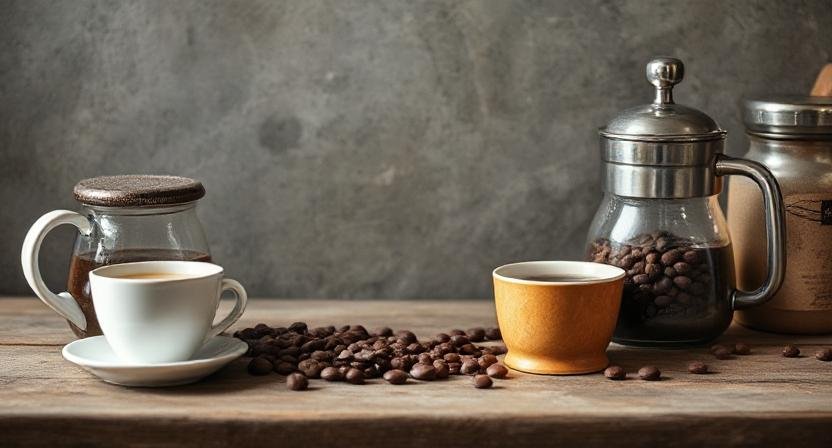
1. Start With Fresh, Quality Coffee Beans
Quick Tip: Coffee is a food product. Like fresh produce, it loses flavor over time.
Fresh, high-quality beans are the foundation of a great cup of coffee. Look for:
Roast Date: Always choose beans roasted within the last 2–3 weeks.
Origin: Single-origin beans (from one region or farm) often offer more distinctive flavors.
Roast Type:
Light Roast: Bright, floral, and acidic. Great for pour-overs.
Medium Roast: Balanced and smooth. Ideal for drip and French press.
Dark Roast: Bold, rich, and full-bodied. Works well in espresso and cold brew.
Pro Tip:
Buy whole beans and grind them just before brewing to maximize flavor. Pre-ground coffee oxidizes quickly and loses its aroma.
2. Invest in a Burr Grinder (It Makes a HUGE Difference)
If you’re using a blade grinder or buying pre-ground coffee — stop. Seriously.
A burr grinder crushes the beans evenly, giving you a consistent grind size, which is essential for balanced extraction. Inconsistent grind sizes (like you get with blade grinders) lead to over- and under-extracted coffee in the same cup. That means bitterness and sourness — not a good combo.
Recommended Grind Sizes:
| Brew Method | Grind Size |
|---|---|
| French Press | Coarse |
| Pour Over | Medium-Coarse |
| Drip Machine | Medium |
| AeroPress | Medium-Fine |
| Espresso | Fine |
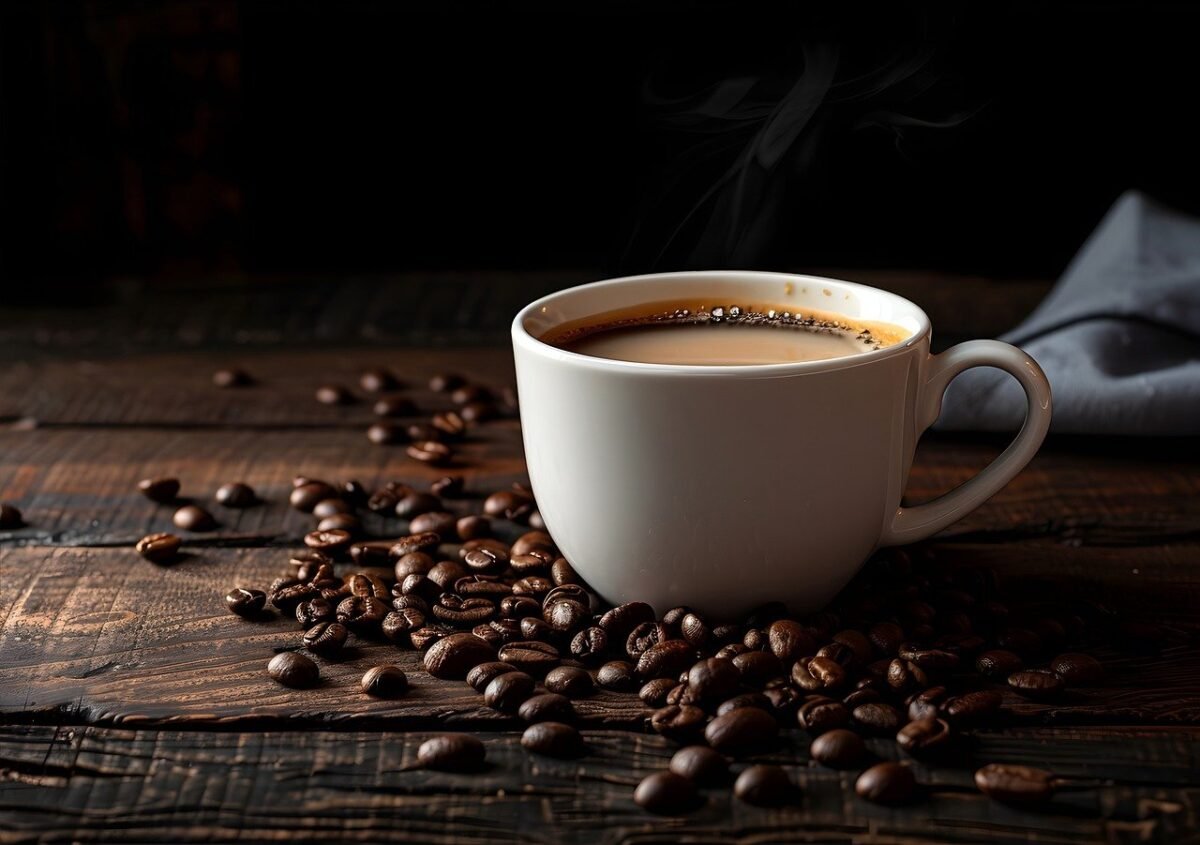
3. Use the Right Water (Yes, It Matters)
Coffee is about 98% water, so using poor-quality water can ruin even the best beans.
Use:
Filtered water (not distilled, not tap if it tastes weird)
Temperature between 195°F and 205°F (just below boiling)
Too cold = under-extracted.
Too hot = bitter and burnt.
A simple gooseneck kettle with a thermometer (or built-in temperature control) is a smart investment.
4. Master the Coffee-to-Water Ratio
This is where a lot of beginners go wrong. The ideal Golden Ratio is:
1:15 to 1:17 — That’s 1 gram of coffee for every 15–17 grams of water.
Example:
For one 12 oz (355 ml) cup, use about 22 grams of coffee to 330 grams (ml) of water.
Use a kitchen scale — not tablespoons — for accuracy. Consistency = better coffee every time.
5. Choose the Right Brewing Method for You
There’s no “one-size-fits-all.” It depends on your taste, budget, and how much time you want to spend.
Popular Brewing Methods:
French Press (Beginner-Friendly & Full-Bodied)
Rich, bold coffee with a thicker texture.
Steep for 4 minutes, then press slowly.
Pour Over (Clean & Complex)
Brings out delicate notes. Great for light roasts.
Use circular pours and maintain even saturation.
AeroPress (Quick & Versatile)
Makes smooth coffee fast. Perfect for one cup.
Try the inverted method for a fuller flavor.
Drip Coffee Machine (Easy & Convenient)
Good for busy mornings.
Use fresh grounds and clean the machine regularly.
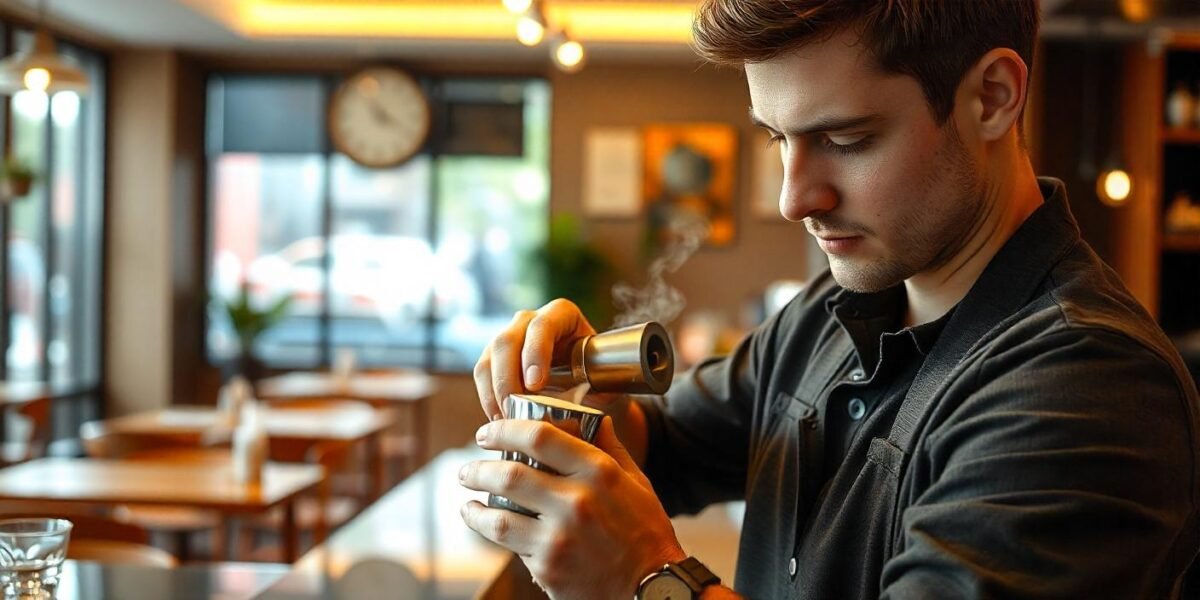
Espresso Machine (For Serious Enthusiasts)
Concentrated shots with rich crema.
Requires more practice but rewards with café-style coffee.
6. Preheat Everything: Mug, Carafe, Brewer
This is a barista secret that’s often overlooked. Pouring hot coffee into cold equipment zaps its temperature and flavor. Take a minute to swirl some hot water in your mug and brewer before you start.
7. Don’t Skip the Bloom (for Pour-Over & French Press)
When hot water hits fresh grounds, carbon dioxide escapes — this is called the bloom. Let the coffee “bloom” for about 30 seconds after the first pour before continuing. It allows better extraction and a sweeter cup.
8. Experiment with Timing & Taste
Taste your coffee. Is it:
Too bitter? You might be grinding too fine or brewing too long.
Too sour? Try a finer grind or longer brew time.
Dial in your method by adjusting one variable at a time (grind size, brew time, or water ratio). Keep notes to find your perfect formula.
9. Store Your Beans Properly
Air, light, heat, and moisture are the enemies of coffee freshness.
✅ Use:
An airtight, opaque container
Store in a cool, dark cupboard (not the fridge or freezer)
10. Optional Upgrades to Enhance Your Experience
If you’re ready to go beyond the basics, here are some budget-friendly upgrades:
Digital scale for precision
Gooseneck kettle for better pouring control
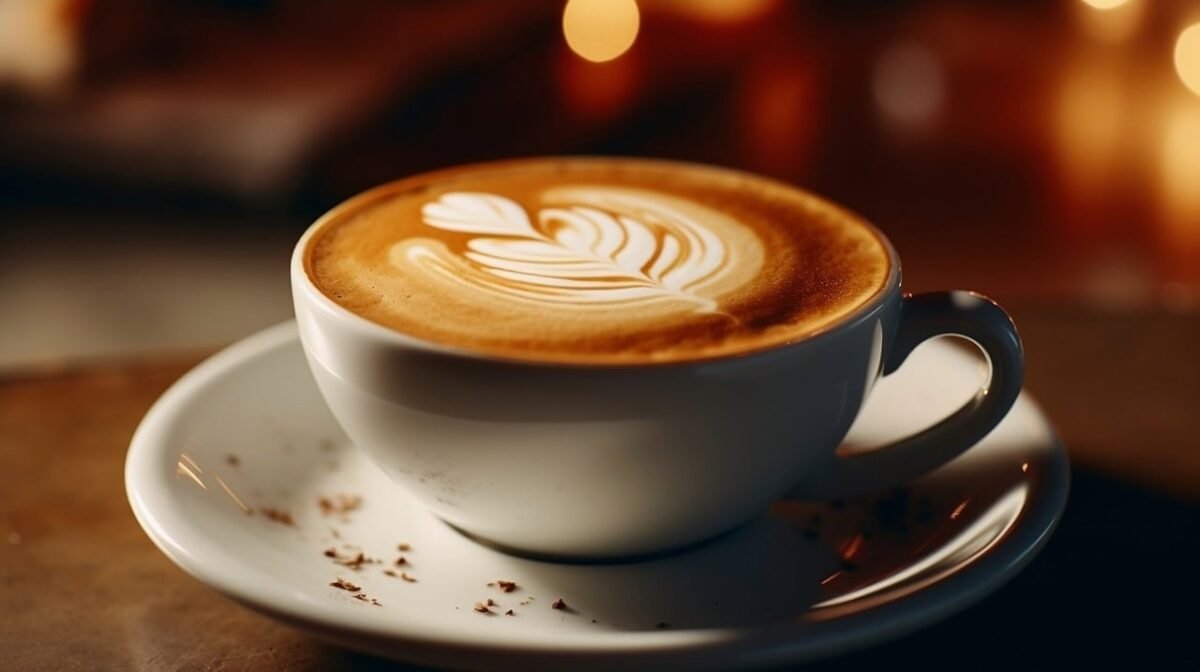
Milk frother for lattes and cappuccinos
Reusable metal or cloth filters to adjust flavor profile
Final Thoughts: Make It a Ritual, Not Just a Routine
Great coffee is more than just caffeine — it’s a moment of calm, a spark of joy, a little luxury in your day. The more you brew, the better you’ll get. Don’t be afraid to experiment, make mistakes, and enjoy the process.
You don’t need a $5,000 espresso machine to make incredible coffee at home. All it takes is good beans, a little know-how, and a love for the craft.
FAQs: Making Coffee at Home
Q: What’s the best coffee for beginners?
A: A balanced medium roast is a great place to start — not too acidic, not too dark.
Q: Is specialty coffee worth the price?
A: Yes — you’ll taste the difference. Look for roasters that list the roast date and origin.
Q: Can I use tap water?
A: If your tap water tastes good on its own, it’s fine. If not, use filtered water.
Q: Should I refrigerate my coffee beans?
A: No. Moisture in the fridge can ruin the beans. Store them in a dry, dark place.